
“Salami, parma ham and chorizo have cancer risks, according to the WHO”. This was the stark caption that greeted me on Monday morning from an article in the online edition of the Guardian. Immediately I began to sweat at the thoughts of chorizo never passing my lips again. Or parma ham and melon. Or quiche lorraine. And what about ham on Christmas Day? Was this included? The release of a report from the World Health Organisation’s (WHO) International Agency for Research on Cancer (IRAC) claims that there is enough evidence to rank processed meats as group 1 carcinogens because of a causal link with bowel cancer. The dramatic news seemed to be everywhere in the press and was a headline on most of the radio news slots that I listened to on the drive back to Cork that afternoon.
As the day wore on my own bowels began to tighten more and more as I thought about all the chorizo, spanish jamón and various other cured meats I indulged in, with much delight, whilst in Madrid over the summer. I don’t think it will come as a massive surprise to most people that eating sausages, ham and/or red meat everyday is not the best diet to follow. But as with most things in life there is a lot of grey area when it comes to the subject of processed meat and what I have come to realise is that not all “processed” meats are created equal.
I don’t know about you, but the first thing that pops into my head when I hear the phrase “processed meats” is the packets of rubbery sliced ham, turkey and chicken that hang out in the fridge or in the deli counter at the supermarket. They bear no resemblance to any fresh chicken or pork meat that I have ever seen in a butcher’s shop.
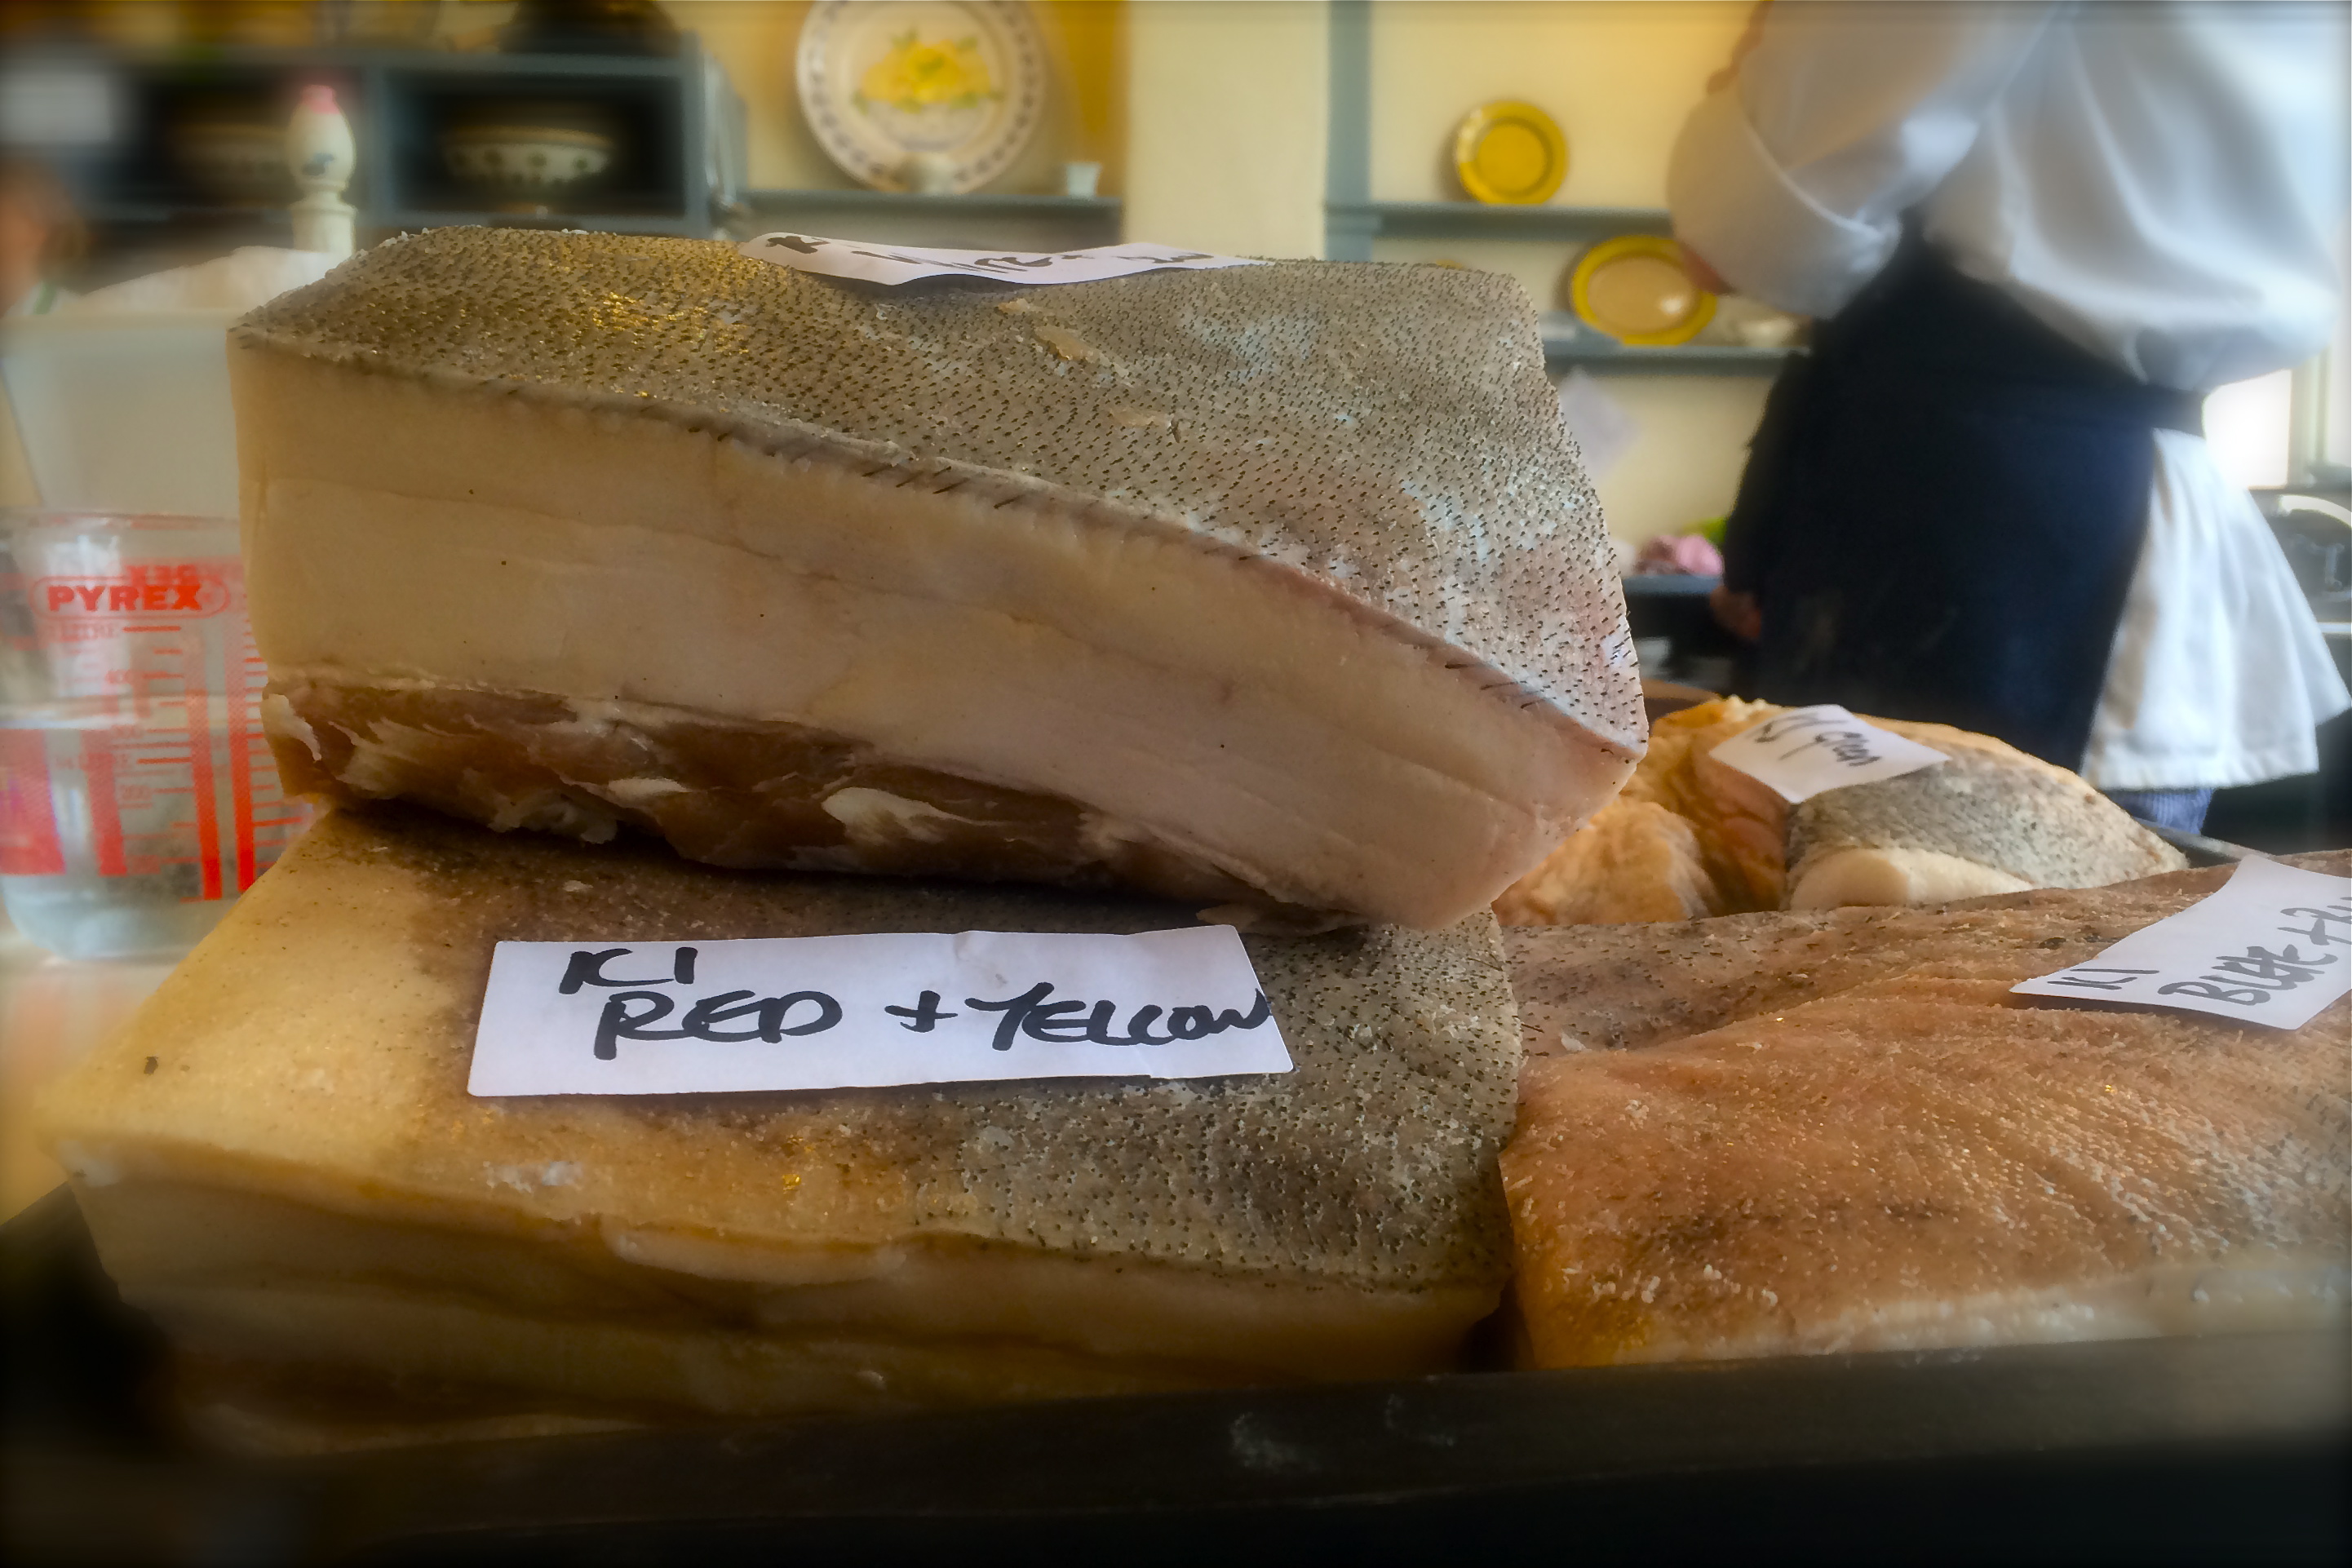
On the other hand, as part of the course here at Ballymaloe Cookery School I have also been taught about the curing of meats which is a type of “process” to preserve meat. The key ingredient in this process is the quality of the meat which is to be cured – preferably it should be free range and organic, as the quality of the meat is a function of how the pig was raised and what it was fed through its life. Once you know and trust that your ‘raw material’ is of the best quality, then all you need to cure your own bacon is salt and time. The important point here is that there is a world of difference between this type of home-cured “processed” meat and the type that you get in a packet, with a list of ingredients on the back, most of which you don’t even know what they are.
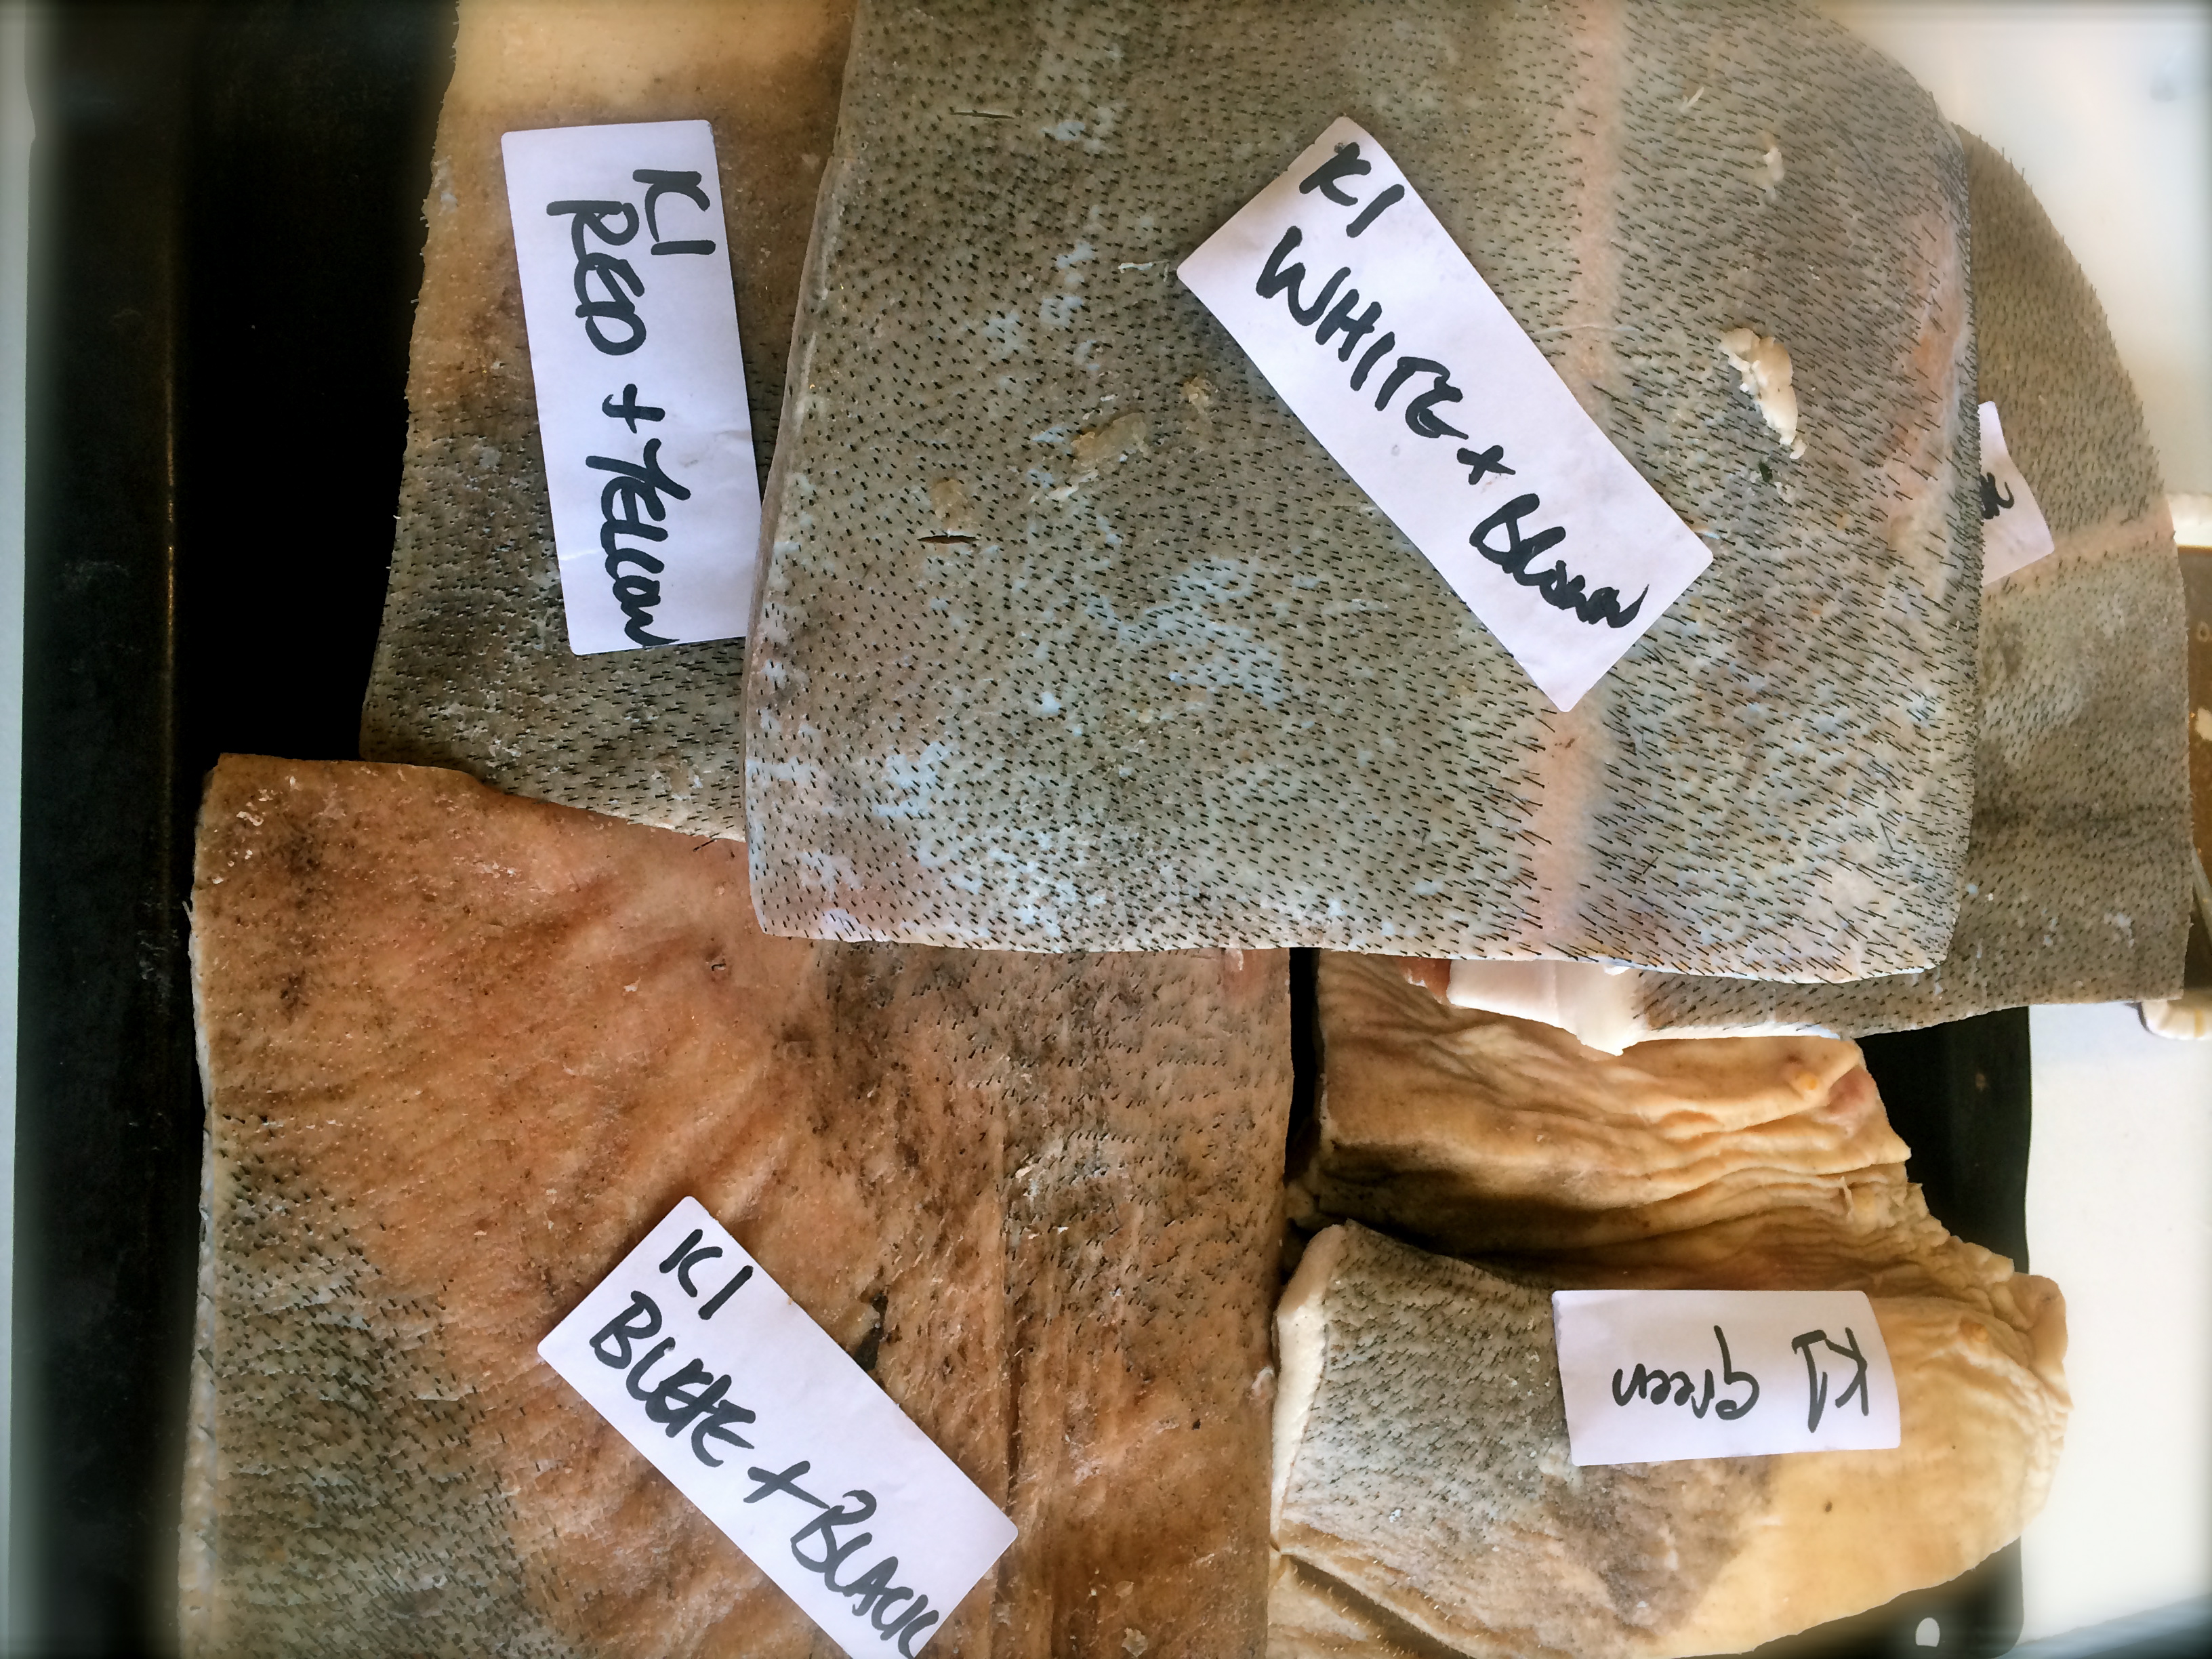
 Not everyone is going to want to cure their own meat. It does take some time and organisation. What stunned me however, is just how easy it is to produce your own rashers with minimal effort and the knowledge that you know exactly what went into them. So the next time you want to indulge in some bacon and feel your bowels start to tighten, remember, you can make your own or find a producer that makes theirs with great quality pork, salt and fresh air! For those that want to try their hand at making their own cured bacon keep reading – it really is surprisingly easy.
Curing
There are two methods of curing – dry-curing and wet-curing. Wet-curing is when the cut of meat is soaked in a salted solution. Spices and sugar can also be added to give different flavours. The process is quicker than dry-curing, hence why I have provided details of how do it using this method below.
When the salt and sugar are added to the water it makes a milky brine that gives a lovely flavour. Thick cuts of meat need to be brined for longer. If you want to brine really large cuts of meat such as a whole leg, you will probably need to invest in a small hand pump that will inject the brine deep enough into the meat, so that the salt penetrates throughout the cut. This is particularly important with large cuts that still have the bone in, as the meat closest to the bone is first to decay. After a pork loin has been brined it is called bacon. Brined pork belly is called streaky bacon, which you can cut into thin slices and fry a.k.a rashers!
Philip’s Wet-Cure
(recipe courtesy of Ballymaloe Cookery School)
*Note – the formula can be easily multiplied by litres of water for larger or smaller cuts of meat.
Ingredients:
4 litres cold water
400 grams dairy salt
120 grams soft brown sugar
Method:
Put the cold water in a deep stainless steel or plastic container and add the salt and sugar. Mix the brine with your hands or a wooden spoon. There is no need to heat or boil the brine, just ensure the dry ingredients are dissolved.
Put the meat in the container ensuring that it is completely covered with brine. Put in a cool place, preferably in a fridge or cold room.
Brine for the following times:
- Pork Belly: 1 day
- Pork loin, neck or shoulder (boned): 4 days
- Pork leg (boned): 6 days
- Pork leg (unboned): up to 10 days
Once the meat has been sitting in the brine for the required time, remove it from the solution and let it sit on a wire rack for another half-day or overnight to dry and to let the salt soak through. After that the meat is ready to be cooked and eaten. Depending on the cut of meat that you brine, you can use it for boiled ham, baked glazed loin of bacon, rashers and so on. The wet-cured meat will keep for one week uncooked.

October 29, 2015 at 5:44 pm
Sounds very easy! Good woman yourself – interesting! Too true- everything in moderation!
LikeLiked by 1 person
October 29, 2015 at 10:38 pm
Thanks Christine! Look forward to trying your homemade rashers!
LikeLike